
Outline
- Boil a cup of water in a pot
- Cool down water to 67 degrees Fahrenheit
- Sterilize yeast package and Pitch yeast
Description
Adding the yeast to the wort is called pitching the yeast. It isn’t difficult. It is all about making sure the yeast is alive and has enough food to get started. Sterilized water is the key. Again, we go back to keeping things clean and sanitized to keep all the bad bacteria and air born yeasts away from your wort.
The most important skill you need to master in the beginning is to learn about the yeast. The first thing you do when you start your brew day is to activate your yeast. Get a small pot and pour about a cup of water in it. Bring it to a boil while you are setting up the rest of your equipment and beer kit. Once it comes to a boil, turn off the burner and remove the pot from the burner to let it cool down. If you noticed, we didn’t spray it with Star San. This is because we boiled the water, so the inside of the pot is sterilized. The water has to cool down to around 67 degrees Fahrenheit before you can pitch the yeast. Putting the pot in sink with some cold water will speed it up if you are in a hurry.
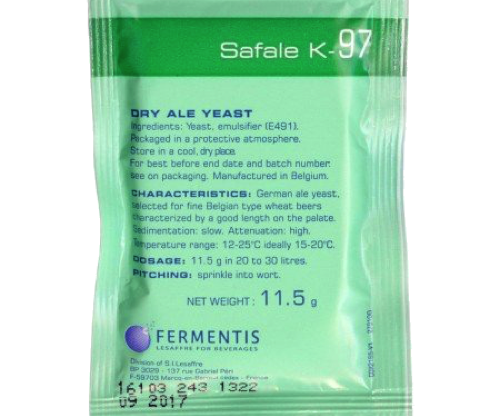
Once the pot of water cools down, sanitize the yeast packet by spraying it with Star San. Cut the packet open with sterilized scissors and empty the yeast into the pot of water. Just leave the yeast alone, you don’t have to stir it. While you are working on the next step with your wort, you will notice the yeast start to bubble and foam up. This means it is alive and growing. If nothing happens after 10 minutes then you probably have dead yeast and you should get a new yeast packet from your wine and beer store.
OK, you are now a yeast expert. Well not yet, but good enough to start. There is so much more you can do to ensure a positive yeast culture and beer fermentation. But that is for another article after you become more experienced and want to geek out.